How to Pin Your Backing to Zippers!
- If your backing is already cut to the size of the quilt top, visit the website tutorial for “How To Add, Piece, & Square Backing". Or if your backing is large enough, move on to the next step.
- First, you need to be sure your backing is squared on grain. This means ensuring all sides are parallel. No raggedy edges or uneven seams. This is important for finding the true center of your project. It also helps ensure your backing lays flat while zipped on the machine.
- Determine how the quilt will be loaded onto the machine - on the long or short edge. Visit the website tutorial for “ How to Load Directional Quilts ”. Typically, we will pin the zippers on the long edge to avoid rolling more than necessary. For the sake of this tutorial, none are directional.
- Find the center of your backing, both top and bottom. Either fold in half or measure to find the center. Center location will be used to determine where to pin the zippers. Mark both centers with a corsage pin.
- Place backing wrong side up on table, with the edges to be pinned at the top and bottom.
- Fold the top and bottom of the fabric over so you can see the right side of the fabric - the right side of the fabric is the side you will be pinning to.
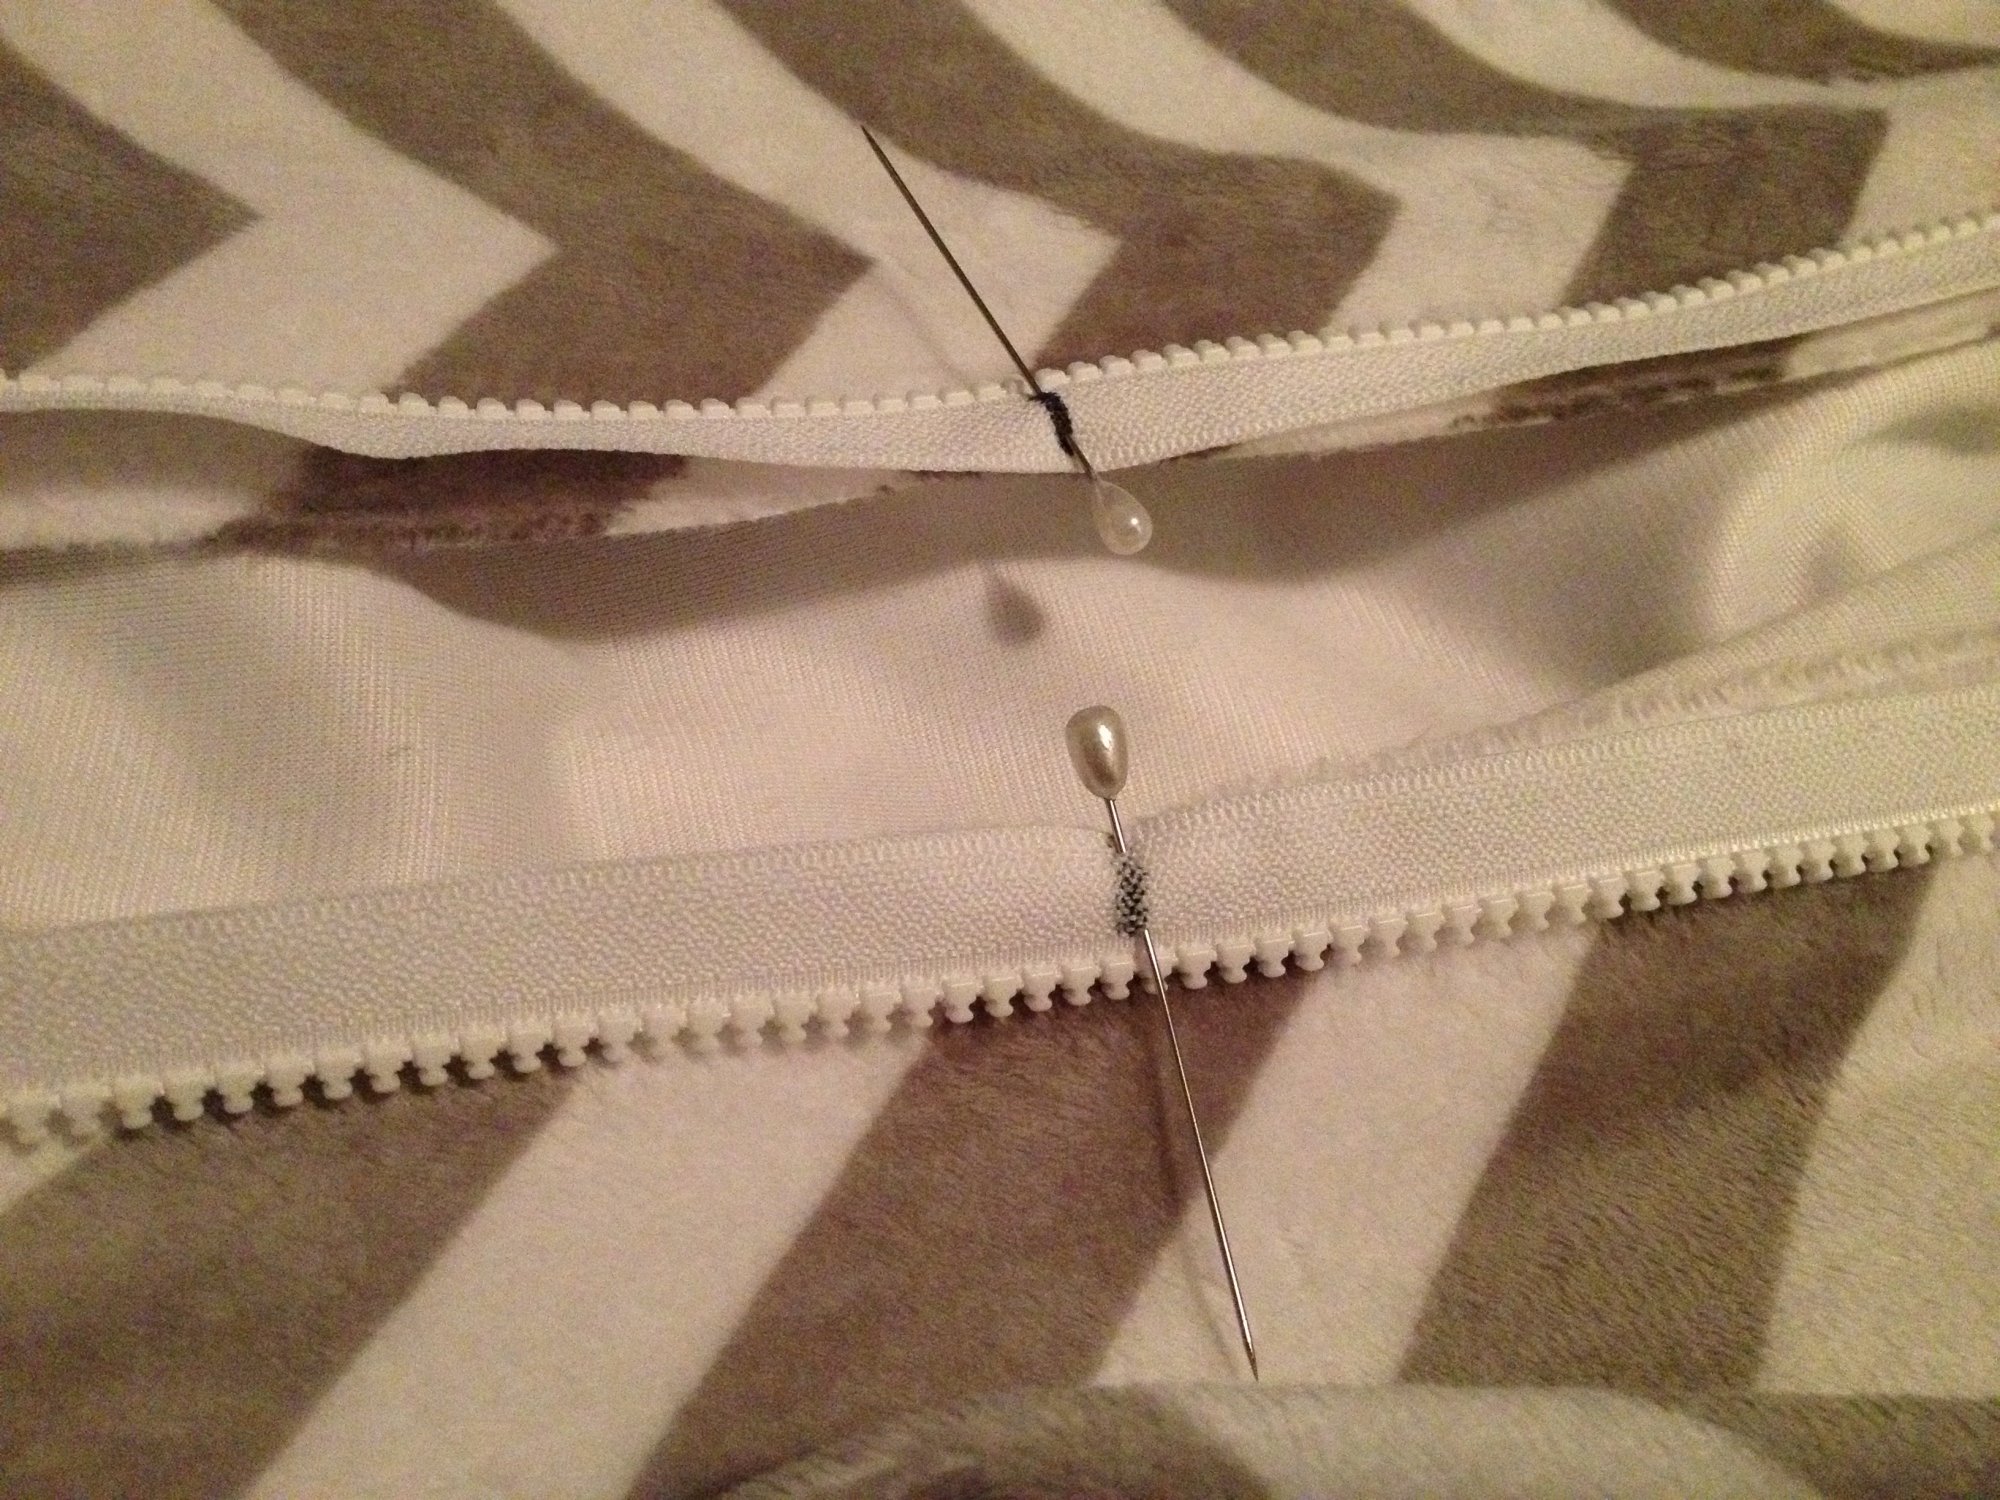
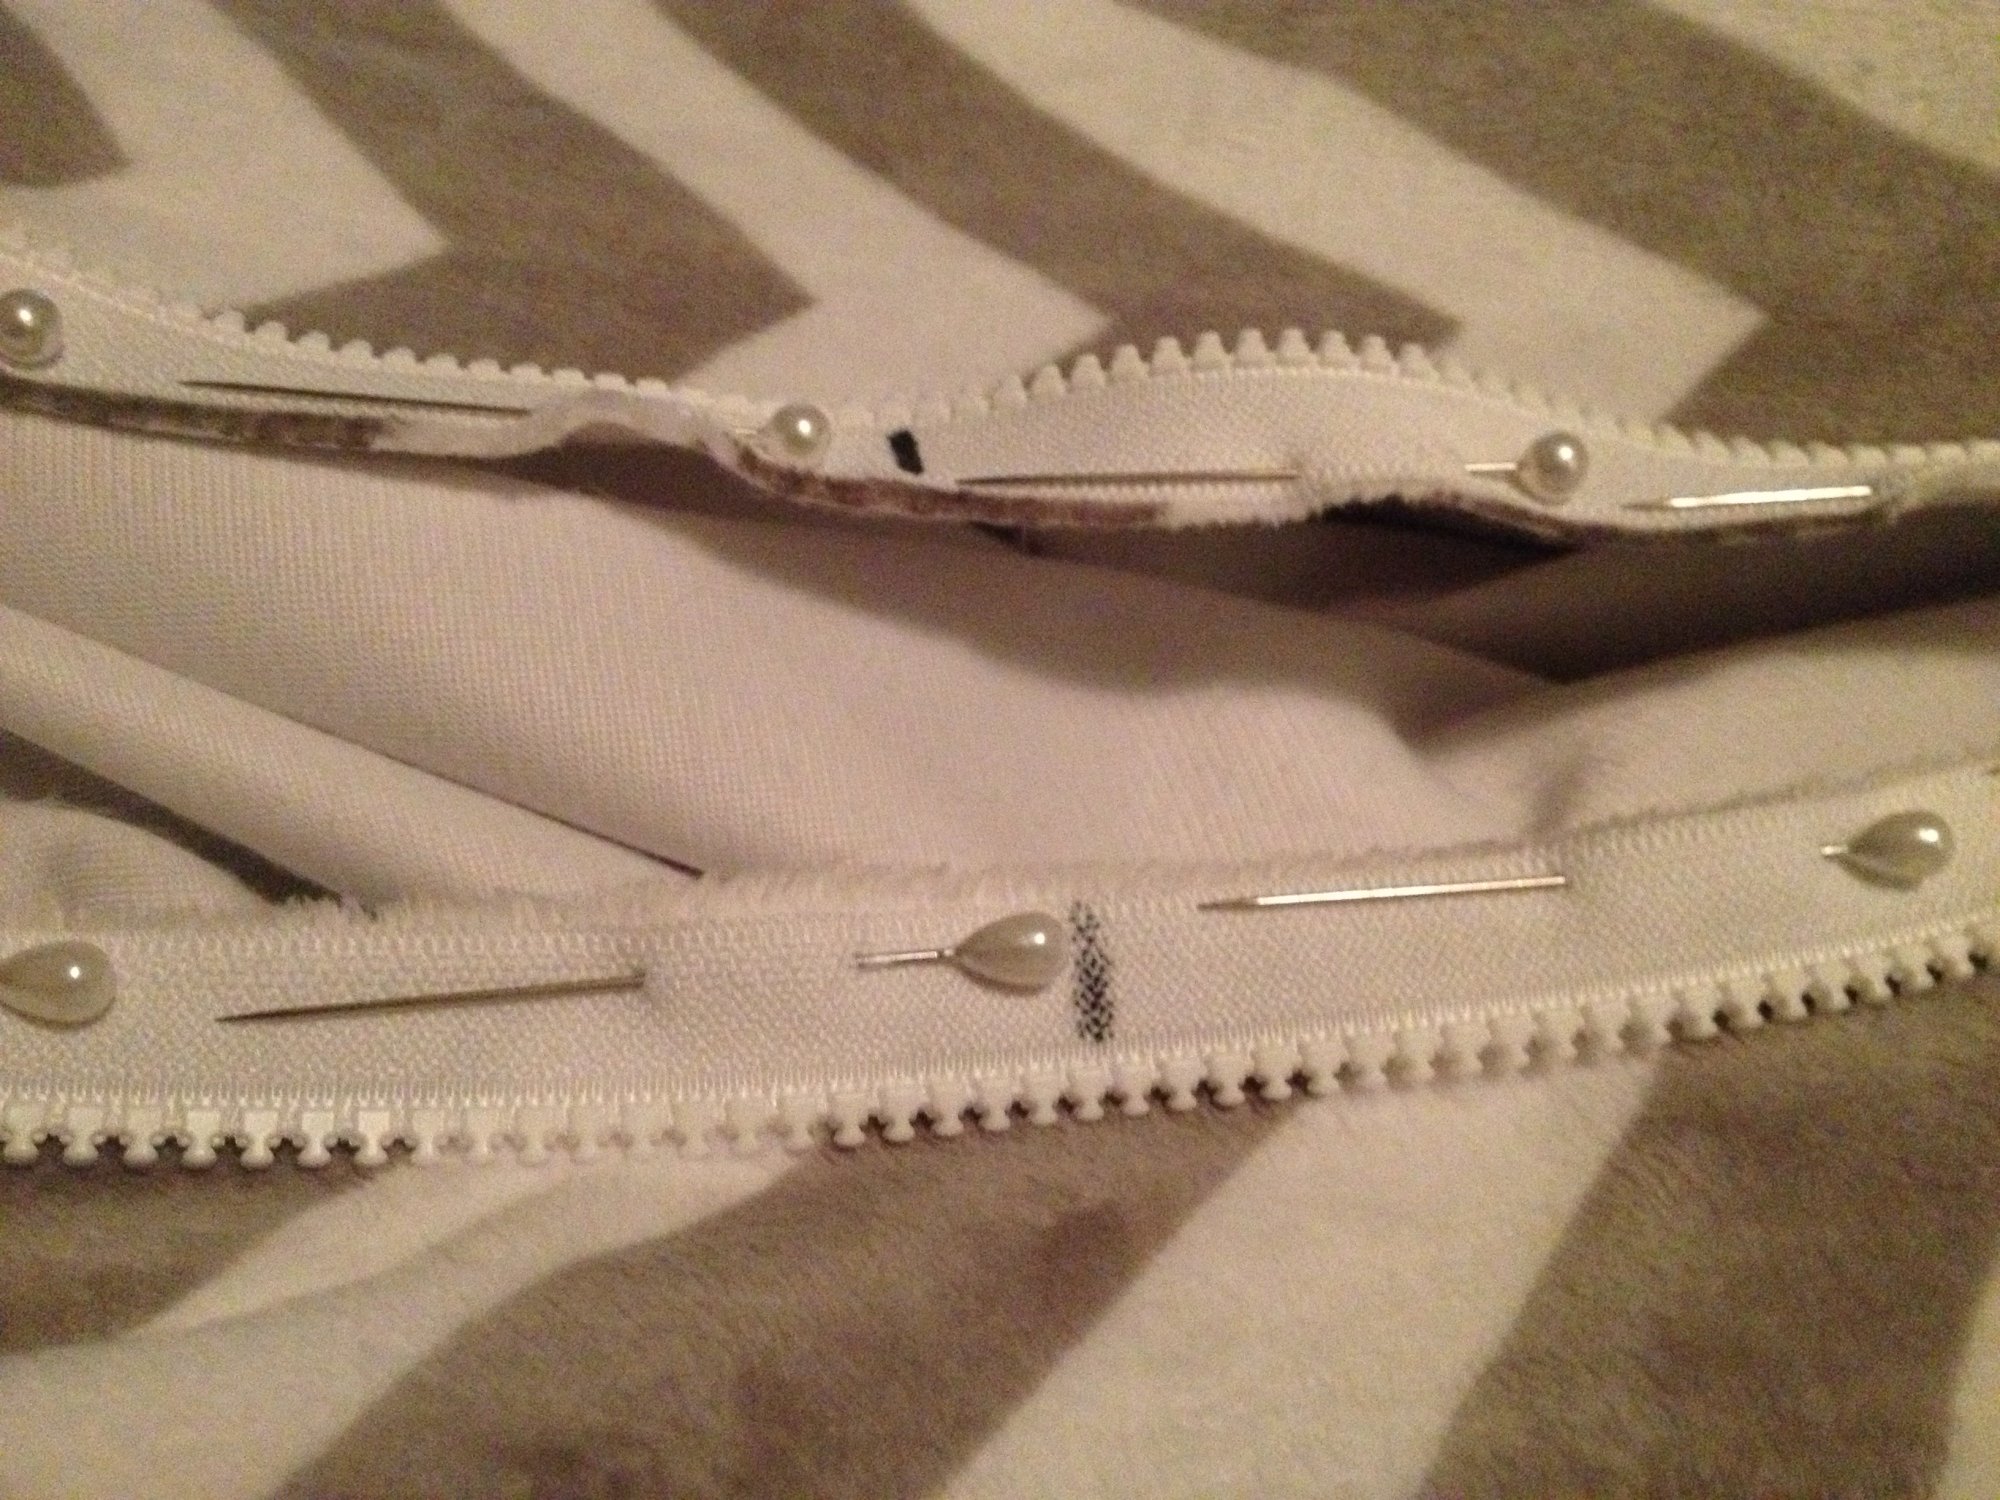
- Match the center of your backing to the center of your zippers, keeping your X's that are on your zippers on the left side.
- Pin the centers of your backing and center of the zipper together. The edge of the right side of your fabric will be even with the straight edge of your zipper.
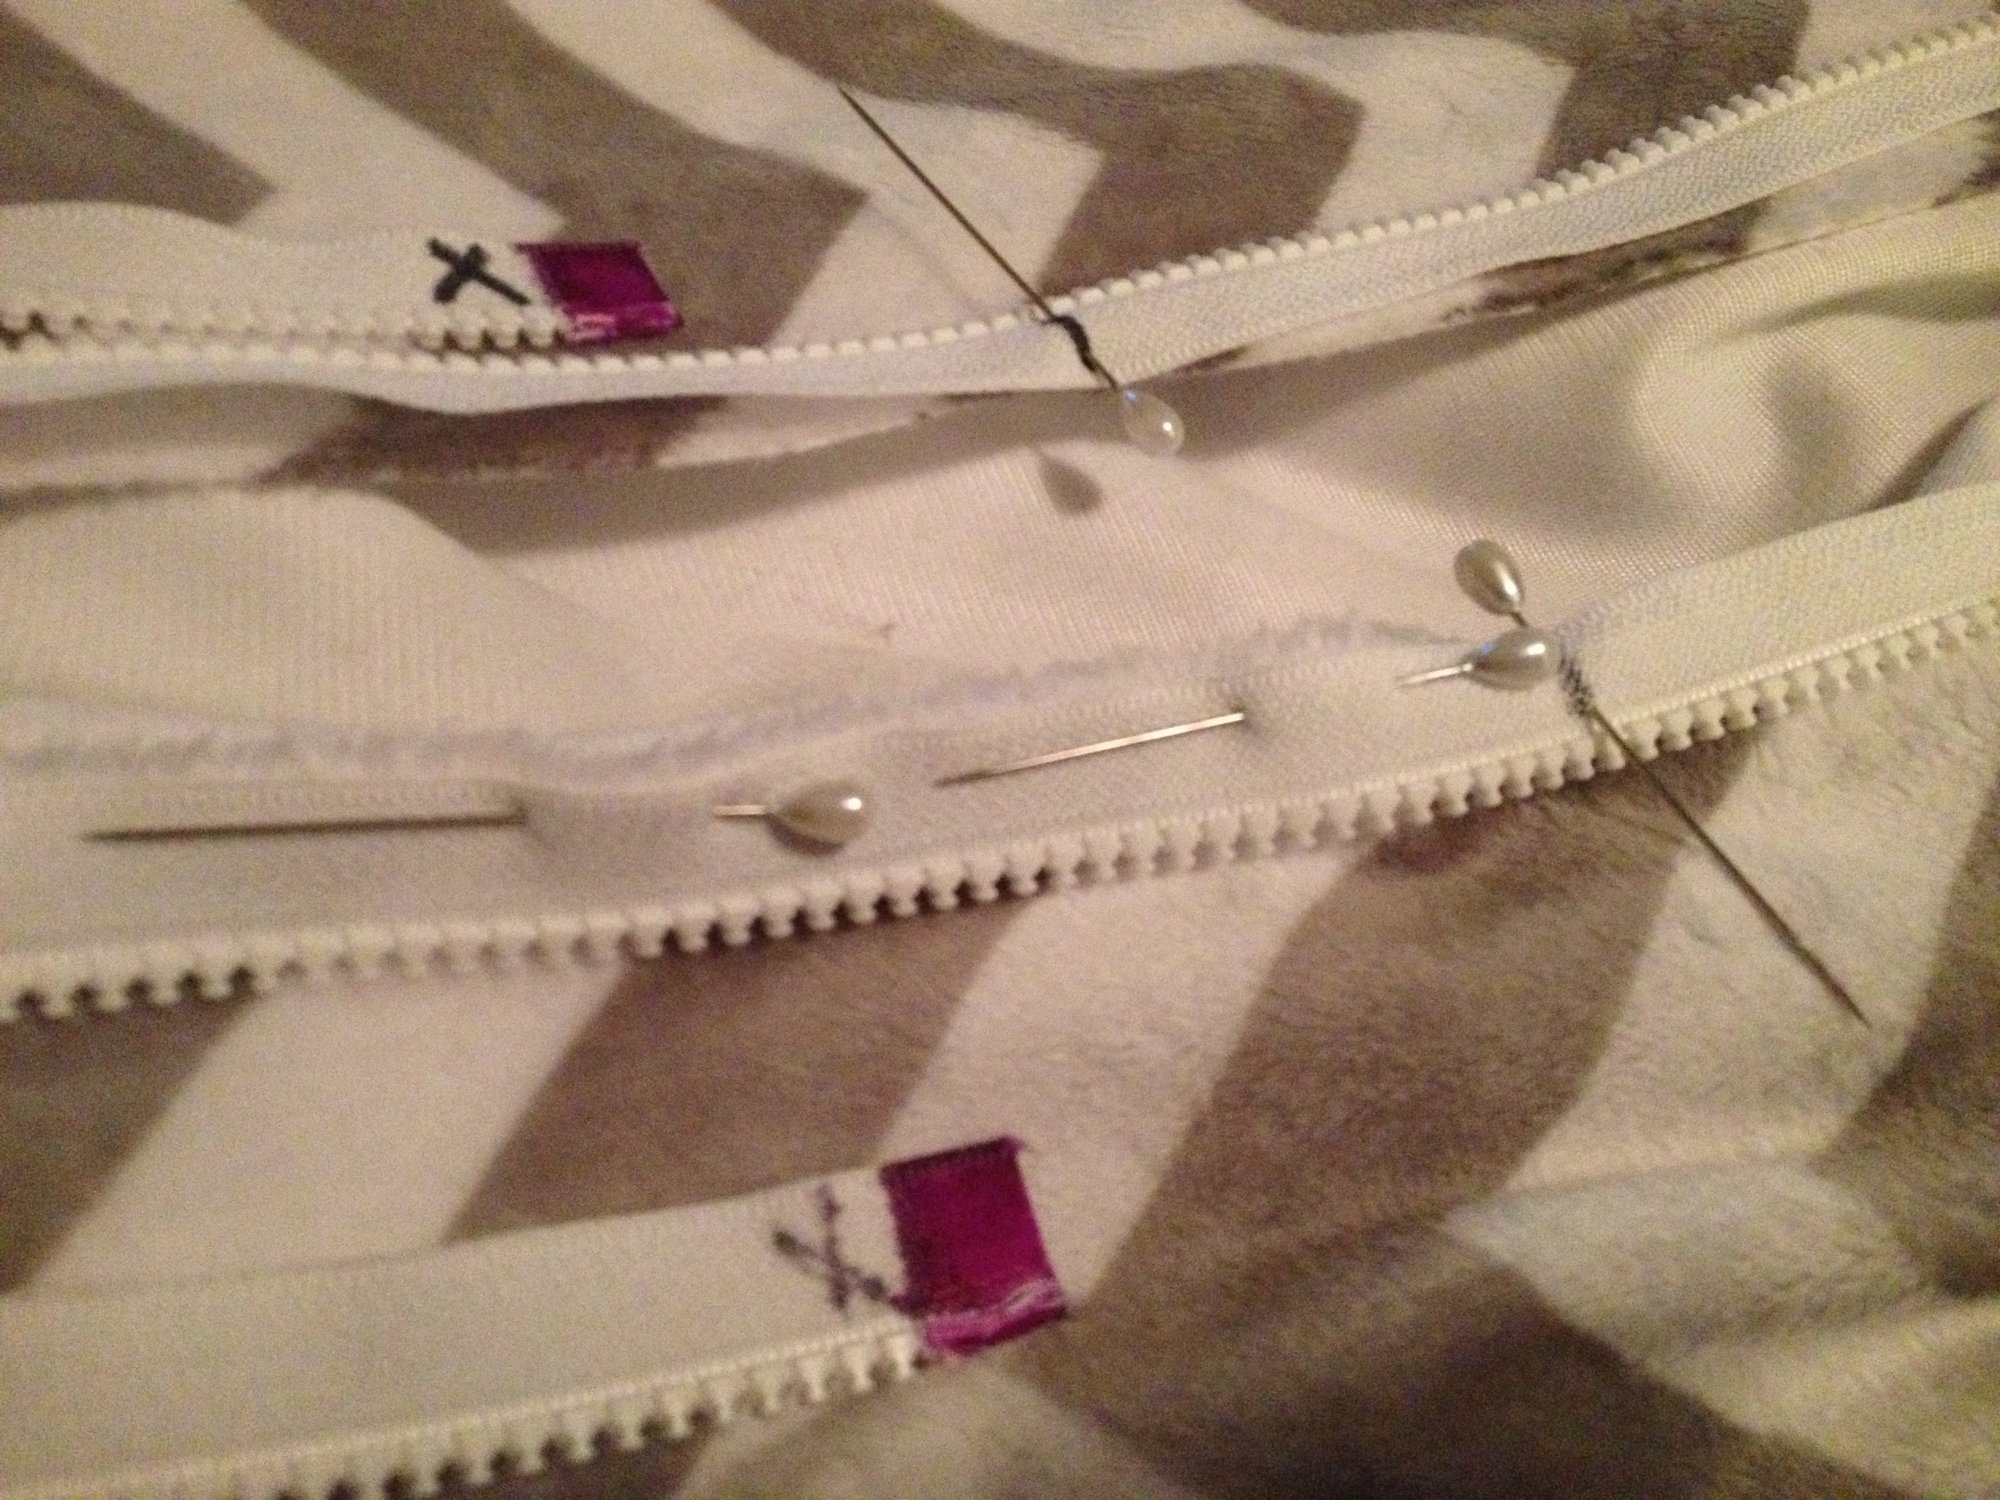
- Pin your zippers evenly, close to the edge of the right side of the fabric and zipper edge. Pins should be end to end, about ½” apart. This keeps your backing straight while you quilt.
- Don't forget to remove your center pins before you zip on.